1

Bends and Rubber Lining

bend-diagram


Bends and Rubber Lining

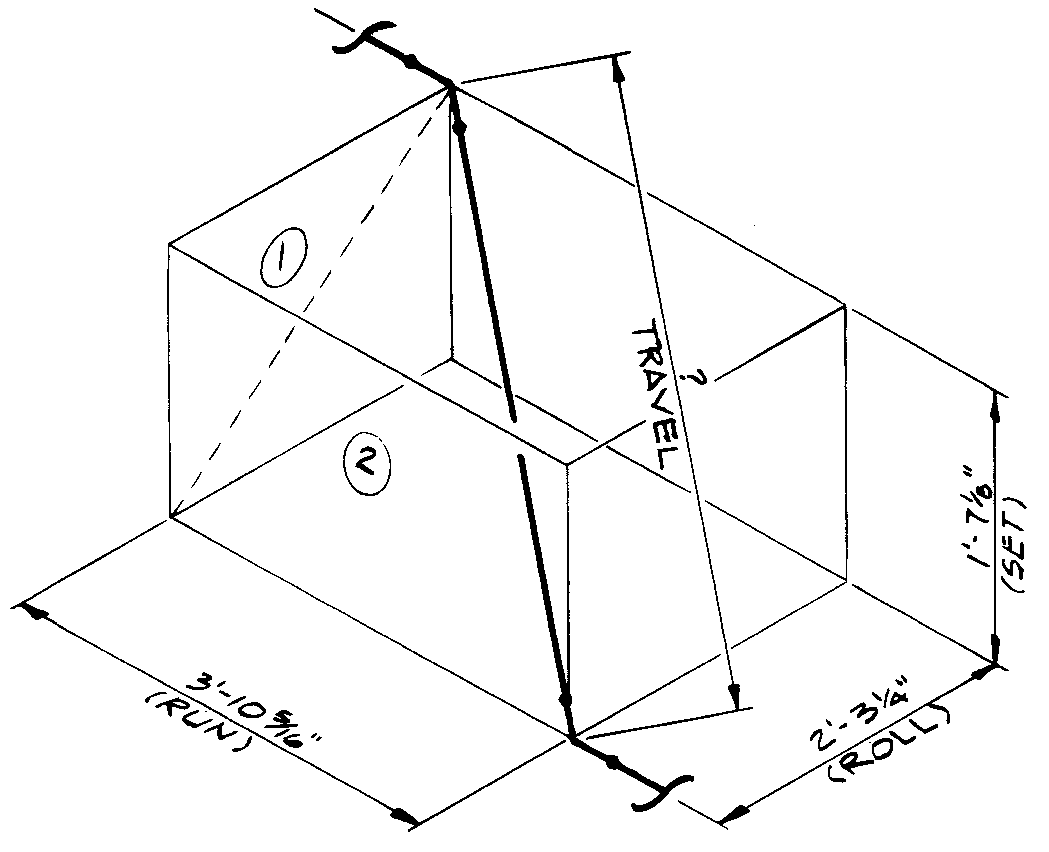
The use of bends in a designed piping system is critical to managing wear in piping directional changes.

In short the longer you can make the directional transition, the less wear you will ultimately have in your elbow. Induction bent elbows provide engineers and designers an infinite degree of adjustment and allows the elbow to have any sweep dia,  limited only by the sweeping arm of the induction bending machine.

Although there are very little limitation of what can be fabricated as an elbow, lining these elbows with rubber can be a challenge.

Here are some general rules of thumb.

Positive: Larger diameters elbows are easier to line as you can reach the inside to stitch and work out possible air pockets.

Negative: Large diameter tubes are very heavy and hard to manage, sometimes difficult not to create wrinkles

Negative: Small diameter long swept bends are challenging as you cannot manually adjust the tube in the swept section. Difficult to stitch in corners.

Negative Small long swept bends can hide bubbles and wrinkles as they can be hidden in the inside radius which is impossible to see with the naked eye.

Positive: Small diameter tubes are generally easy to handle.

Thick liners in small diameter bends are difficult, due to the tube not wanting to turn the corner and kinking when folded in half. The liner has tendencies to create large wrinkles.

New trends is to have thick liners in pipe and elbows. Engineers are using the additional rubber thickness in order to match flow calculations and standardize pipe size. An example of this would be using a 30″ dia. pipe and lining it with 2″rubber. The engineering design recommended 28″ pipe for the flow. But 28″ pipe is not common  and 28″ flanges and valves are not commonly stocked and are very expensive. Using 2″ rubber would accomplish the reduction in interior diameter.

Other times the belief is that a thicker liner will make the elbow last longer, this is inaccurate. If using the correct compound for the fluid with particle size and flow taken into consideration than 1/2” rubber sub-straight is ample for best performance.

Lining with 2″ thick material is extremely in-practical. The weight of the tube would exceed the tear strength of the silk required to pull the tube through the elbow. The tube would weight in the area of 700 lbs. The other challenge with such a thick liner, the sag created in the material during the vulcanization process will create an uneven liner. The top of the part would thin and the lower section would increase dramatically. An uneven liner generally created uneven wear.

From a designing perspective, 3D bends should generally have a minimum 1D tangent. Anything less and the end of the pipe will result in an elliptical form. An elliptical end will create challenges with the termination, flanges and grooved ends. This generally doesn’t affect rubber lining but 1D tangents are good design practices.

 Pro Tip.

-Although 6 D bends are great for wear, the most common swept bend ordered are 3D 45’s and 90’s. These are common and stock in most location have a 1D tangent. Even if the site has a 1 deg slope try to standardize all bends to normal standard angles for ease of replacement and interchangeability.

-3D Bends 8″ and below 1/4″ liners

-3D Bends above 8″ 1/2″ Liners.

-3D Bends above 16″ if required 1″ liners are possible

-On cyclone under-flows where the material if very coarse like 3’/4″ ,minus allow for the longest possible Radius such as a 5D or 6D elbow.


0

Rubber Lined Piping Systems and your Cad System

14

Modern Cad systems can be problematic for rubber liners….

1 Cad people may not take into account the rubber gasket on the face.

Normally when an engineer lays out the piping system they choose many different ways for the software to dimension the Isometric.

Long run dimensioning – Dimensioning from intersection to intersection, this is ok if you let the fabricator interpret the spool lengths. Generally the pipe lengths get indicated but the rubber lined face gaskets are not taken into account, groove type gaps or the fitting dimension are incorrectly setup. The other common mistake to this style of dimensioning is that the travel exceeds the physical manufacturing limitation of the spools in between.

Spool dimensioning -Dimensioning to the center of all the joints- This is by far the best method if the model is setup correctly. Grooves should be modeled not just specified, as the tolerance of this should be taken into account (1/8″ rubber on the face of the groove as well). The biggest challenge becomes when people use stock grooved libraries for non rubber lined product for a rubber lining system. The addition of the face rubber increases the fitting dimensions.

2 Descriptive modelling

As most modern advanced Cad systems such as Bentley, Aviva, Integraph or Microstation are very ridged and are provided with a standard parts library. For example many rubber lined systems end up being a coupled system. When using auto routing for piping, rules are set for spool lengths and gaps. A common cheat is to describe the piping as piping with grooves and to download the spool separations to the manufacturing. The result is that most spools in this case will have to be redrawn by the manufacturer as opposed to processed using Spoolgen for example. The redrawn spools may not always conform to the design dimensions making drawing checking and receiving of final product very difficult.

3 Libraries built for a steel only system.

All cad systems in the market are built to accommodate steel fabricated systems. So there are always compromises when it comes to descriptions and dimensions. As a rubber lining supplier it is very cost prohibitive to create libraries for all the engineering systems. Currently  some coupling system companies have up to 23 different software catalogues built so that engineers can use their products.

4 Specifications do not always contain the compounds or thicknesses.

When processing Isometrics a specification a line class is usually provided. Some time these are very well laid out for rubber. Other times it is a combination of pipe sizes, service and line class that will determine the lining. The lining information is often not contained on the Isometric itself. Depending on your cad team this can be a difficult item to interpret from the information provided.

Conclusion

The sooner you can get involved in a project the better. Working with the engineering firms, understanding their challenges and concerns will help you find common grounds. Working with both the EPCM and end users will reduce processing errors, reduce the overall project lead times and cost.


0

Which Vic Specification is best for Rubber Lining?

25.03A and 25.03C

25.03A and 25.03C

The Basics

When you manufacture a rubber lined pipe and create your own groove there is basically 2 types of grooves specification you can choose. Victaulic Spec 25.03 which has two sub categories.

25.03A The A stands for cut groove for abrasion only. If you refer to the diagram above you will see that the Victaulic coupling system has  gaps when assembled and they vary based on diameter and coupling styles. A list of the gap sizes are listed below. The gaps are there to accommodate a certain amount of pipe line flex approx 1 deg depending on size. The more important fact is in a slurry application the gap exist and will fill with the slurry. In a slurry application with no corrosive material this is not a problem and will pack with fines. But is corrosive application such as Phosphates or Acid the steel in the gasket area is exposed and will deteriorate before the liner will. 25.03A is good for abrasion service but not corrosive service.

COMMON VICTAULIC END TO END COUPLING GAPS
PIPE SIZE (NPS) CLAMP STYLE END TO END GAP inches   (mm)
2 ½ – 3  Style 07, Zero-Flex Rigid Coupling 0.067     (1.7)
4 – 6  Style 07, Zero-Flex Rigid Coupling 0.161     (4.1)
8  Style 07, Zero-Flex Rigid Coupling 0.189     (4.8)
10 – 12  Style 07, Zero-Flex Rigid Coupling 0.130     (3.3)
2 ½ – 3 ½  Style 77, Standard Flexible Coupling 0.063     (1.6)
4 – 12  Style 77, Standard Flexible Coupling 0.189     (4.8)
14 – 24  Style 77, Standard Flexible Coupling 0.189     (4.8)
26 – 44  Style 44,  Ring Coupling with “D” Type Adapter 0.500     (12.7)

25.03C  The C in this specification means cut groove for corrosion application. In other words if you have any transport material which has corrosive materials, this is the spec you require as rubber is returned into the groove or below the gaskert this can be seen in the diagram at the top. The exposed steel will be covered by a layer of rubber eliminating the opportunity for corrosion in this area. Only use for corrosive service as the additional cut in the steel ads costs to the pipe.

More Advanced 25.03?

25.03 is a good spec but was designed to accommodate a problem in the Vic system when used with rubber lining. When rubber lining a cast Vitc fitting, the recommendation is that you utilizes the specification VS-222 which we will call for this example 25.01B. “B” standing for Bad. This specification states that you add 1/8″ of rubber to the face of the fitting. That this does impede on the gap required in a Vic coupling system. So 25.03 is designed to add more space to the coupling groove, in the instance that a rubber lined cast fitting mates up to a pipe. The additional space is then maintained and the original gap is perfect. The challenge comes when you mate a cast fitting to a cast fitting 25.01B – 25.01B. This adds 1/8″ of rubber per gasket face and on a fitting that is 3″ in Dia. with a  gap of  1/16″ and you put 1/4″ of rubber, it doesn’t work.

If this sounds complicated, we’ll, it is. Below is a diagram explaining what happens to the gap in different situations. There is a spec below which is called 25.01A which we will discuss after this diagram but it maintains the designed gap regardless of cast fittings or pipe assembly.

Vic Groove and RUbber_001

Advanced

The correct groove to use is 25.01A and 25.01C. These are the dimensions of 25.01 but with 1/8″removed on the face to be replaced with rubber. So the final finished dimension will be the same as 25.01 in all situations. The down side to this is that all cast fittings needed to be rubber lined will be required to be machined back 1/8″ for the addition of the rubber face gasket. No matter what you do this is the correct way to maintain the designed gap in cast fittings as well as the pipe.

0

What are the maximum lengths for rubber lined pipe?

754595.7998rc

The length of pipe that can be lined often comes down to the transportation method.

When rubber lining pipe, there is a maximum length that can be practically lined.

Here are some of the general rules of thumb when it comes to lining lengths. These rules however are not set in stone. In fact longer lengths can be achieved but the failure rate of the liner installation and cure go up significantly if the lengths listed are not respected.

1 – 2 1/2″ in Dia.  The realistic length to line a pipe is 24″ long. This is primarily due to pulling the liner in wet in the adhesive filled pipe. Generally in this size you will need to install the tube wet without the use of a silk as there is no room. Toluene is applied to the outside of the tube liberally in order to have the tube slip into place. This is the most practical method of installing the tube. As you drag the tube through the first few inches of adhesive  dissolved and get displaced. Any longer and the adhesive would be removed completely. This would result in a failure during the curing process.

3 – 4″ in Dia. In this size 10′ sections are recommended. This is due to tight constraint of the pipe. The tube is rolled into a silk but managing it to spring into place without a wrinkle is very difficult in this size. This diameter is also prone to trapping air. The smaller length allows the rubber liner to work the air bubble. Any longer and the trapped air would be too difficult to work out.

4 1/2″ – 14″ in Dia. This allows you to line length up to 20′ with no concerns.

16″-60″ in Dia. The length of pipe that can be lined often comes down to the transportation method.

Transport Truck -The longest common length you can transport if 40″ on a truck flat-deck. Loads can be longer baser on trailer design.

Shipping container 39′ is preferred as the inside length of a container is 39,5″ for ease of packaging an open top container is recommended.

Rail- offers you an interesting option as lengths can be as long as 50′-80′ assuming you have the material handling equipment supplier of material that length, autoclave to cure the material or manifold and boiler that can provide enough steam for an atmospheric cure and rail spur to accommodate these lengths.